nexus安装与入门
创始人
2024-05-28 12:26:58
0次
安装
nexus-3.31.1-01-unix.tar.gz
链接:https://pan.baidu.com/s/1YrJMwpGxmu8N2d7XMl6fSg
提取码:kfeh
上传到服务器,解压
tar -zvxf nexus-3.31.1-01-unix.tar.gz
进入bin目录,启动
./nexus start
查看状态
./nexus status
默认8081端口,访问地址 http://ip:8081/
设置开机自启
首先需要确认nexus的安装目录,这里使用的目录为/opt/nexus-3.31.1-01,权限配置为nexus用户所有。
在三个文件夹其中一个创建nexus.service文件,优先级是/etc/systemd/ > /usr/lib/systemd/ > /lib/systemd/
[Unit]
Description=nexus service
After=network.target[Service]
Type=forking
ExecStart=/opt/nexus-3.31.1-01/bin/nexus start
ExecStop=/opt/nexus-3.31.1-01/bin/nexus stop
User=nexus  #启动nexus进程的用户,需要确认目录是否有访问权限
Restart=on-abort[Install]
WantedBy=multi-user.target  #命令行模式
执行以下命令
systemctl daemon-reload
systemctl enable nexus
systemctl start nexus
点击登录会提示修改密码,按提示命令执行

配置拉取
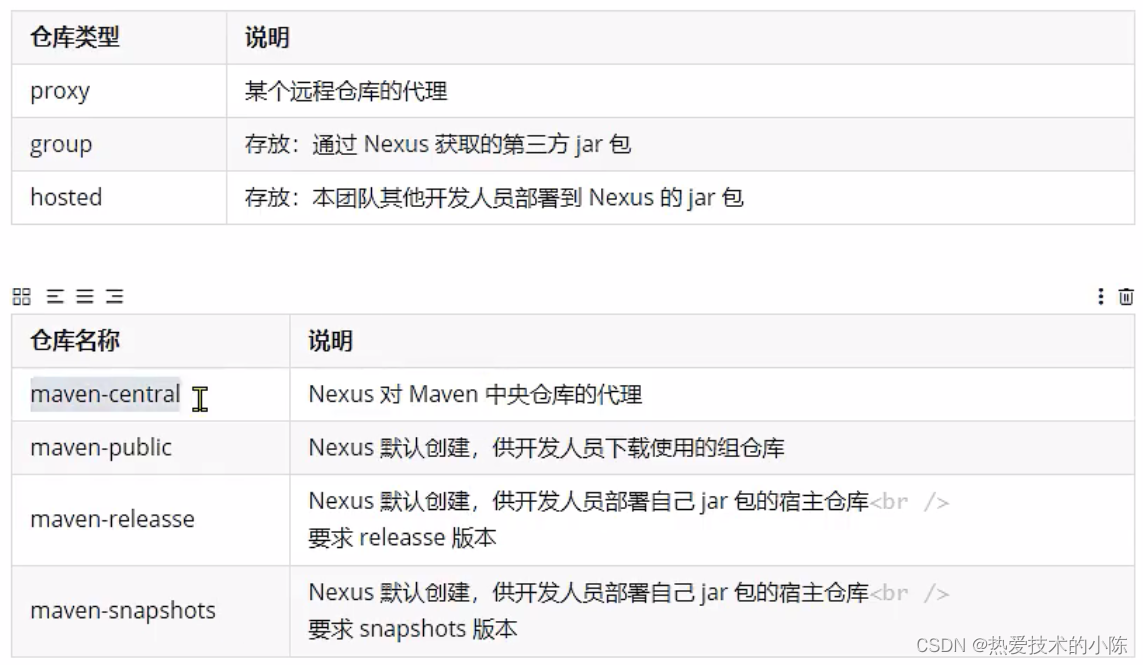
一般使用maven-public,maven-central会去拉公共仓库,拉完maven-public中就能用,其实就是代理
maven-releases是正式的jar包
maven-snapshots是快照的jar包
在pom.xml中配置如下
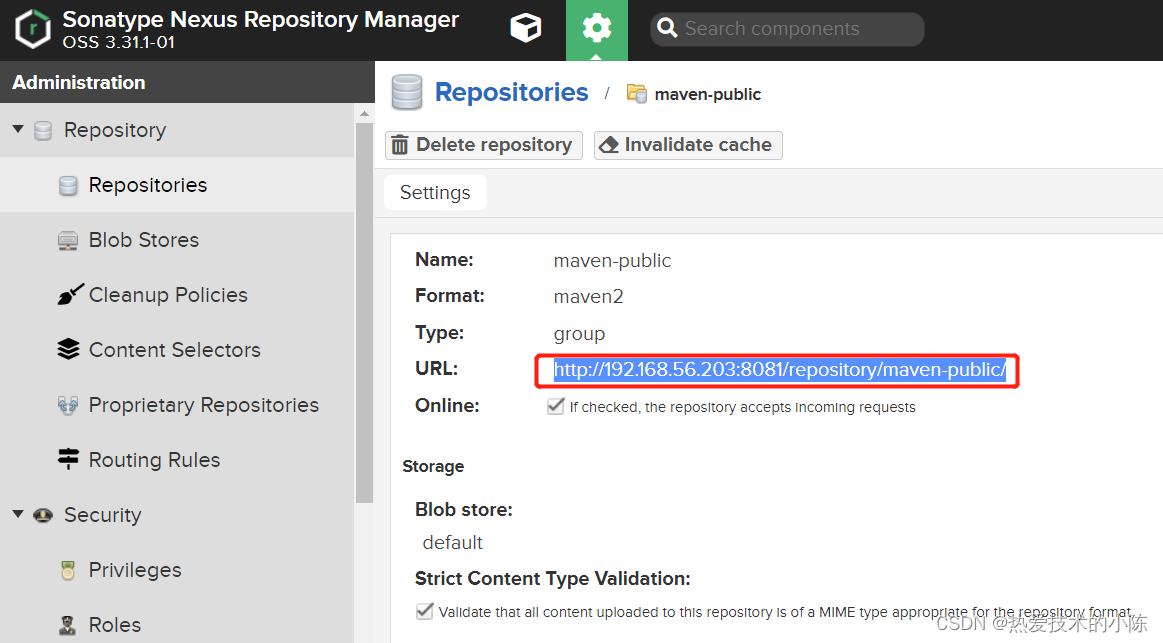
public nexus http://192.168.56.203:8081/repository/maven-public/ true public nexus http://192.168.56.203:8081/repository/maven-public/ true false 配置上传
在maven的settings.xml中配置
maven-releases admin chenxb123456 maven-snapshots admin chenxb123456 在pom.xml中配置如下
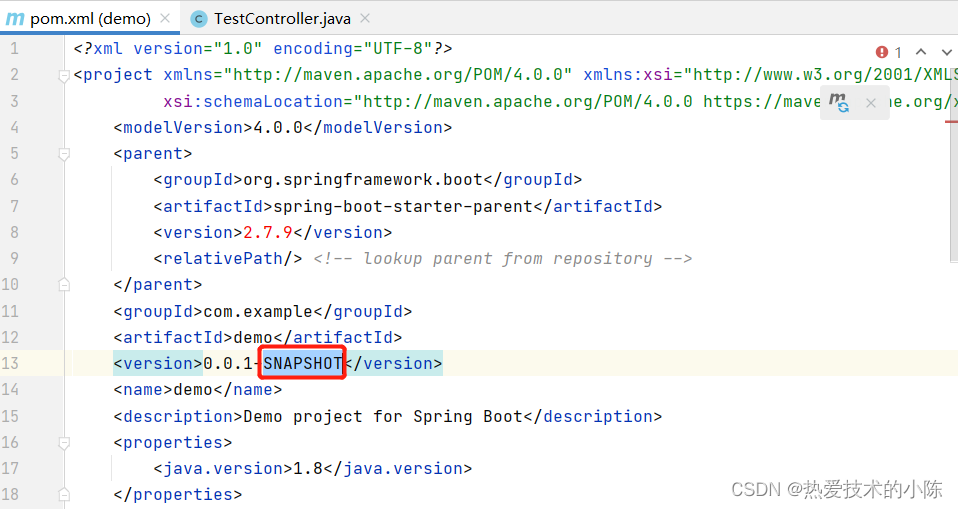
maven-releases http://192.168.56.203:8081/repository/maven-releases/ maven-snapshots http://192.168.56.203:8081/repository/maven-snapshots/ version标签中是SNAPSHOT则上传到maven-snapshots,releases则上传到maven-releases
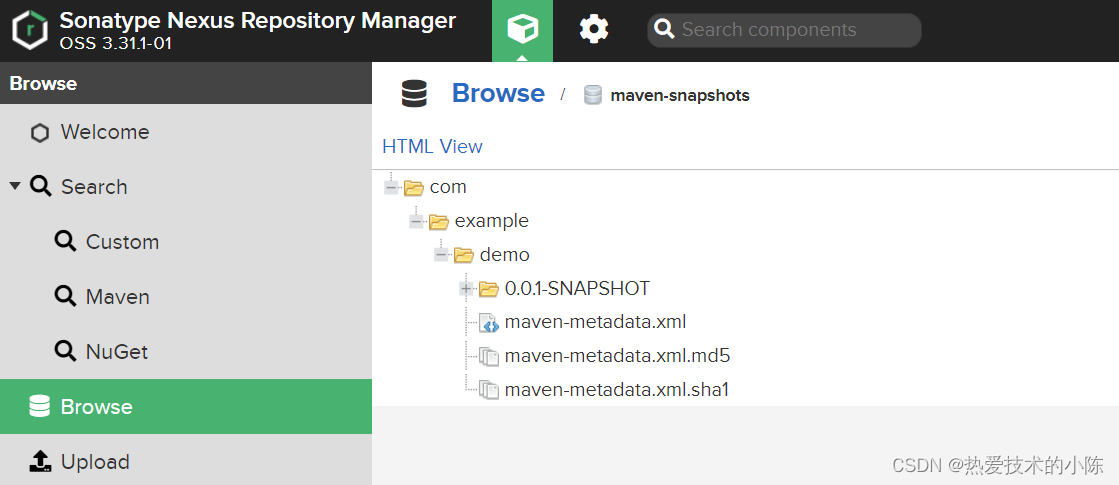
点击maven deploy,如下图上传成功
相关内容
热门资讯
保存时出现了1个错误,导致这篇...
当保存文章时出现错误时,可以通过以下步骤解决问题:查看错误信息:查看错误提示信息可以帮助我们了解具体...
汇川伺服电机位置控制模式参数配...
1. 基本控制参数设置 1)设置位置控制模式 2)绝对值位置线性模...
不能访问光猫的的管理页面
光猫是现代家庭宽带网络的重要组成部分,它可以提供高速稳定的网络连接。但是,有时候我们会遇到不能访问光...
不一致的条件格式
要解决不一致的条件格式问题,可以按照以下步骤进行:确定条件格式的规则:首先,需要明确条件格式的规则是...
本地主机上的图像未显示
问题描述:在本地主机上显示图像时,图像未能正常显示。解决方法:以下是一些可能的解决方法,具体取决于问...
表格列调整大小出现问题
问题描述:表格列调整大小出现问题,无法正常调整列宽。解决方法:检查表格的布局方式是否正确。确保表格使...
表格中数据未显示
当表格中的数据未显示时,可能是由于以下几个原因导致的:HTML代码问题:检查表格的HTML代码是否正...
Android|无法访问或保存...
这个问题可能是由于权限设置不正确导致的。您需要在应用程序清单文件中添加以下代码来请求适当的权限:此外...
银河麒麟V10SP1高级服务器...
银河麒麟高级服务器操作系统简介: 银河麒麟高级服务器操作系统V10是针对企业级关键业务...
【NI Multisim 14...
目录 序言 一、工具栏 🍊1.“标准”工具栏 🍊 2.视图工具...