【Spring Cloud Alibaba】5.创建服务消费者(Feign)
文章目录
- 简介
- 什么是 Feign
- 开始搭建
- 创建项目
- 修改POM文件
- 添加启动类
- 创建 Feign 接口
- 添加Controller
- 添加配置文件
- 启动项目测试
- 访问Nacos
- 访问接口
- 测试负载均衡
- 通过终端启动多个服务提供者实例
简介
接下里我们创建一个服务消费者,通过Feign来进行与服务提供者交互,本操作先要完成之前的步骤,详情请参照【Spring Cloud Alibaba】Spring Cloud Alibaba 搭建教程
什么是 Feign
Feign是一个声明式的 Web Service 客户端。它的出现使开发 Web Service 客户端变得很简单。使用 Feign 只需要创建一个接口加上对应的注解,比如:@FeignClient 注解。 Feign 有可插拔的注解,包括 Feign 注解和 AX-RS 注解。Feign 也支持编码器和解码器,Spring Cloud Open Feign 对 Feign 进行增强支持 Spring Mvc 注解,可以像 Spring Web 一样使用 HttpMessageConverters 等。
Feign 是一种声明式、模板化的 HTTP 客户端。在 Spring Cloud 中使用 Feign,可以做到使用 HTTP 请求访问远程服务,就像调用本地方法一样的,开发者完全感知不到这是在调用远程方法,更感知不到在访问 HTTP 请求。接下来介绍一下 Feign 的特性,具体如下:
可插拔的注解支持,包括 Feign 注解和AX-RS注解。
- 支持可插拔的
HTTP编码器和解码器。 - 支持
Hystrix和它的Fallback。 - 支持
Ribbon的负载均衡。 - 支持
HTTP请求和响应的压缩。
Feign整合了 Ribbon 和 Hystrix,从而不需要开发者针对 Feign 对其进行整合。Feign 还提供了 HTTP 请求的模板,通过编写简单的接口和注解,就可以定义好 HTTP 请求的参数、格式、地址等信息。Feign 会完全代理 HTTP 的请求,在使用过程中我们只需要依赖注入 Bean,然后调用对应的方法传递参数即可。
总的来说,通过Feign让微服务之间的调用变得更简单,就像controller调用service。
开始搭建
我们首先启动之前安装好的nacos,安装参照2.服务注册与发现(Nacos安装),创建方法与4.创建服务消费者大同小异,区别在于引入了Feign的依赖和服务提供者调用的代码调整。
创建项目
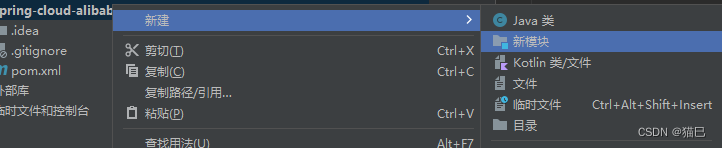
在我们之前搭建好的父项目中右击新建->新模块
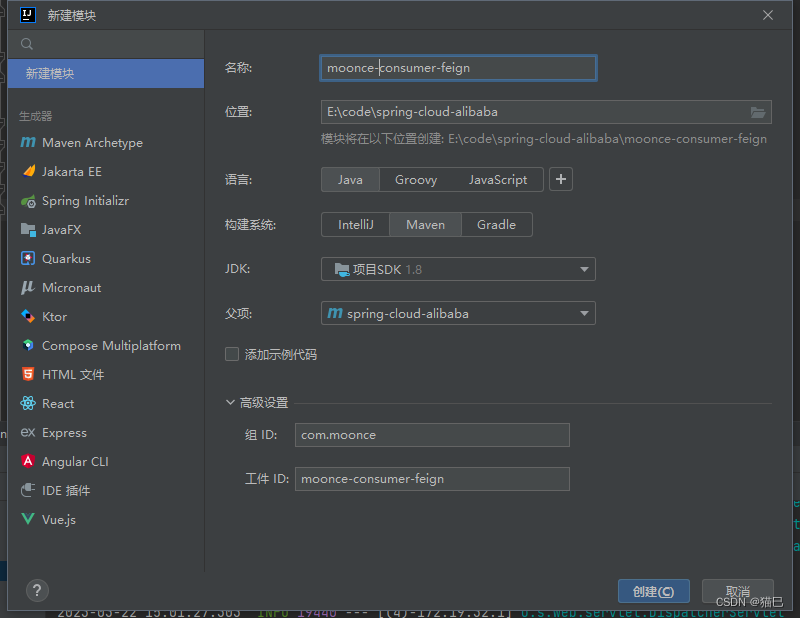
为我们的子模块取名字、组ID和工件ID
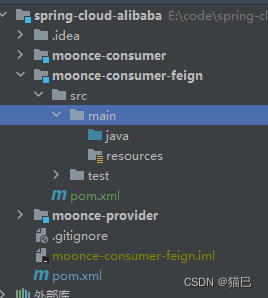
创建后目录结构如下
修改POM文件
spring-cloud-alibaba com.moonce 1.0-SNAPSHOT 4.0.0 moonce-consumer-feign jar 1.8 org.springframework.boot spring-boot-starter-web org.springframework.boot spring-boot-starter-actuator org.springframework.boot spring-boot-starter-test test com.alibaba.cloud spring-cloud-starter-alibaba-nacos-discovery org.springframework.cloud spring-cloud-starter-openfeign com.alibaba.cloud spring-cloud-starter-alibaba-sentinel org.springframework.boot spring-boot-maven-plugin com.moonce.consumer.feign.ConsumerFeignApplication 添加启动类
创建com.moonce.consumer.feign包和ConsumerFeignApplication.java启动类
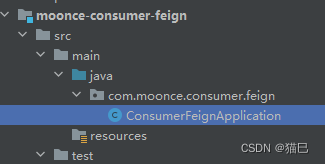
ConsumerFeignApplication.java
添加@EnableFeignClients注解,启用Feign功能
package com.moonce.consumer.feign;import org.springframework.boot.SpringApplication;
import org.springframework.boot.autoconfigure.SpringBootApplication;
import org.springframework.cloud.client.discovery.EnableDiscoveryClient;
import org.springframework.cloud.openfeign.EnableFeignClients;@SpringBootApplication
@EnableDiscoveryClient
@EnableFeignClients
public class ConsumerFeignApplication {public static void main(String[] args) {SpringApplication.run(ConsumerFeignApplication.class, args);}
}
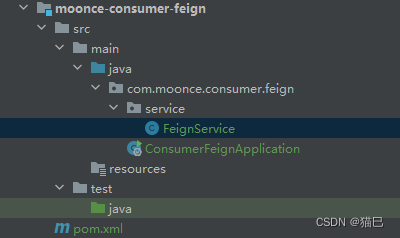
创建 Feign 接口
创建com.moonce.consumer.feign.service包和FeignService.java类
通过 @FeignClient("服务名") 注解来指定调用哪个服务。代码如下:
FeignService.java
package com.moonce.consumer.feign.service;import org.springframework.cloud.openfeign.FeignClient;
import org.springframework.web.bind.annotation.GetMapping;
import org.springframework.web.bind.annotation.PathVariable;@FeignClient(value = "moonce-provider")
public interface FeignService {@GetMapping(value = "/test/{message}")String test(@PathVariable("message") String message);
}
添加Controller
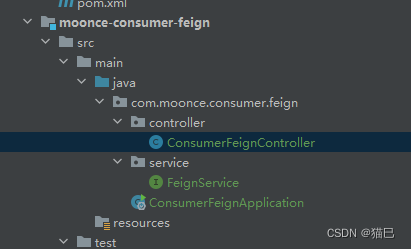
新建软件包com.moonce.consumer.feign.controller和ConsumerFeignController.java类,目录结构如下
ConsumerFeignController.java
package com.moonce.consumer.feign.controller;import com.moonce.consumer.feign.service.FeignService;
import org.springframework.beans.factory.annotation.Autowired;
import org.springframework.web.bind.annotation.GetMapping;
import org.springframework.web.bind.annotation.RestController;@RestController
public class ConsumerFeignController {@Autowiredprivate FeignService FeignService;@GetMapping(value = "/test/hi")public String test() {return FeignService.test("Hi Feign");}
}
添加配置文件
application.yml
spring:application:name: moonce-consumer-feigncloud:nacos:discovery:server-addr: 127.0.0.1:8848server:port: 9092management:endpoints:web:exposure:include: "*"
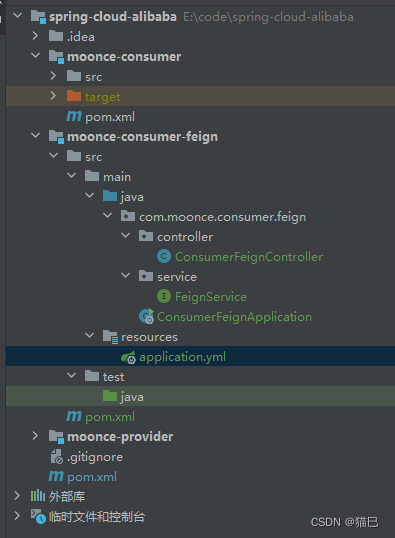
目录结构如下
启动项目测试
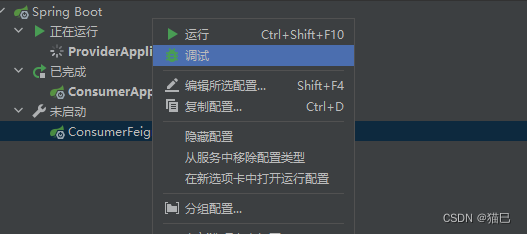
依次启动ProviderApplication和ConsumerFeignApplication
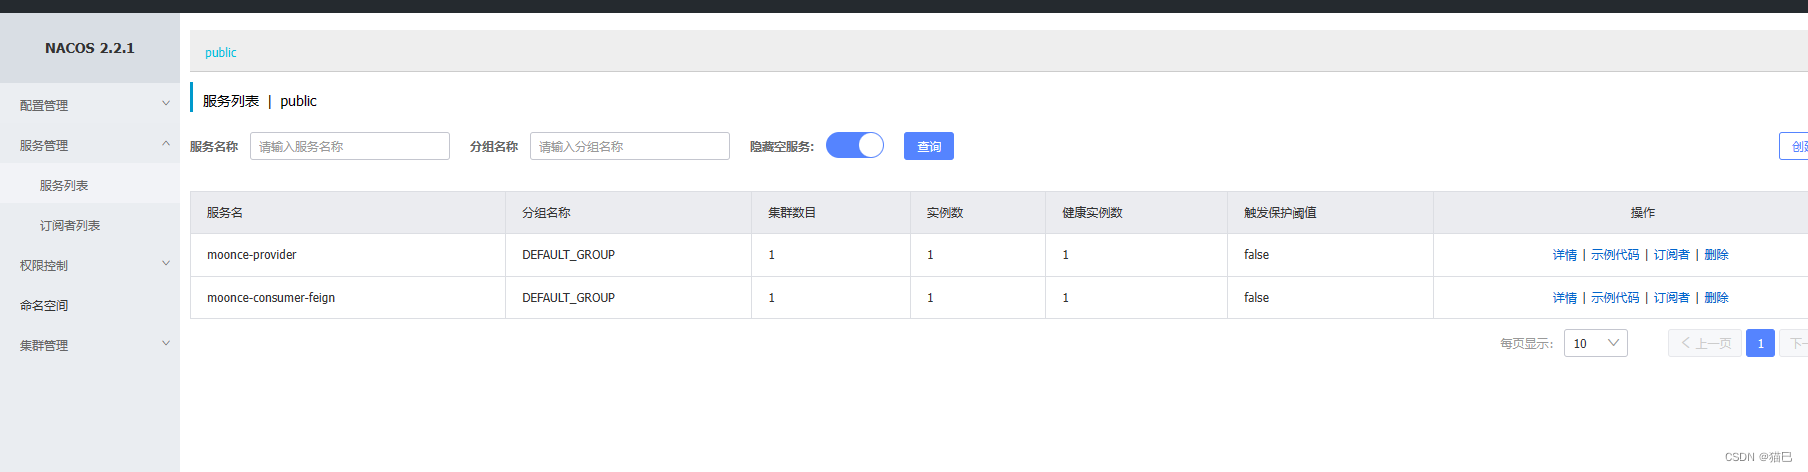
访问Nacos
启动完成后,浏览器访问地址http://localhost:8848/nacos,我们会看到两个服务都被注册到Nacos中
访问接口
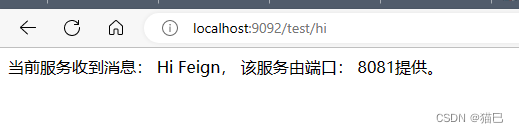
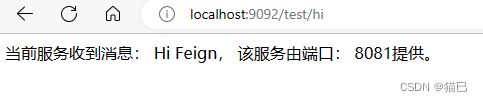
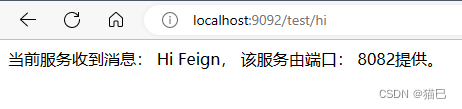
这时打开 http://localhost:9092/test/hi ,你会在浏览器上看到:
测试负载均衡
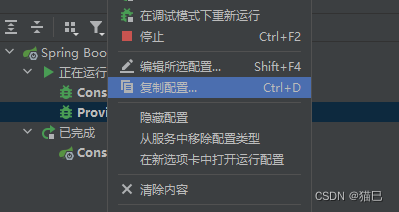
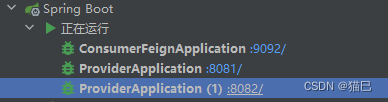
右击服务中的ProviderApplication,复制配置
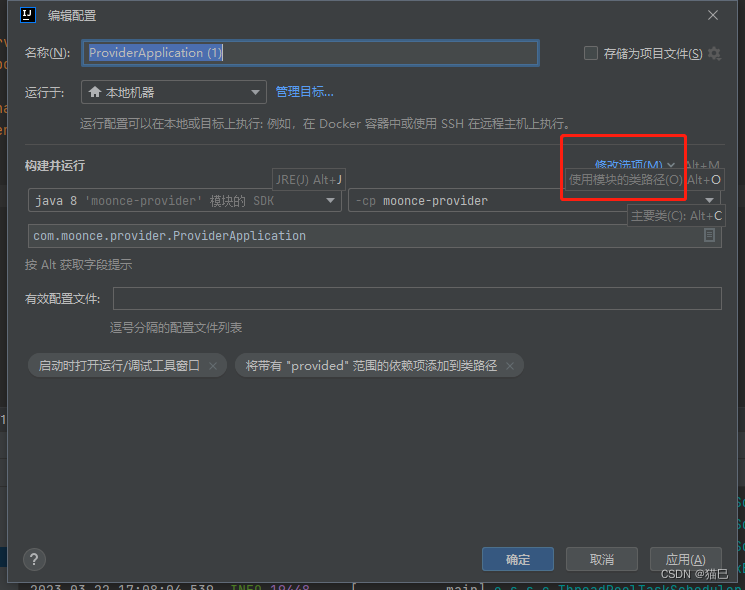
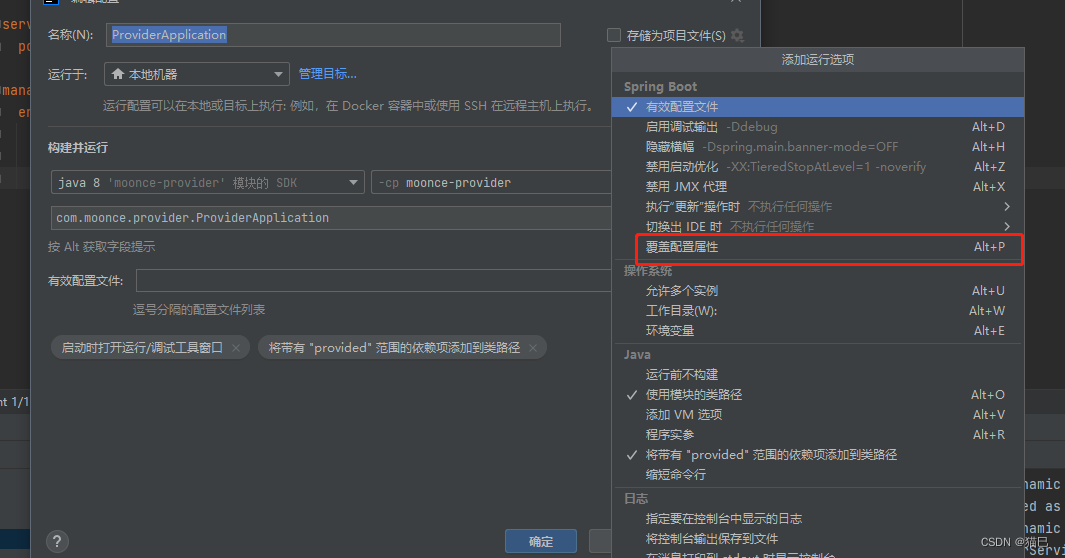
添加端口设置覆盖原来的8081
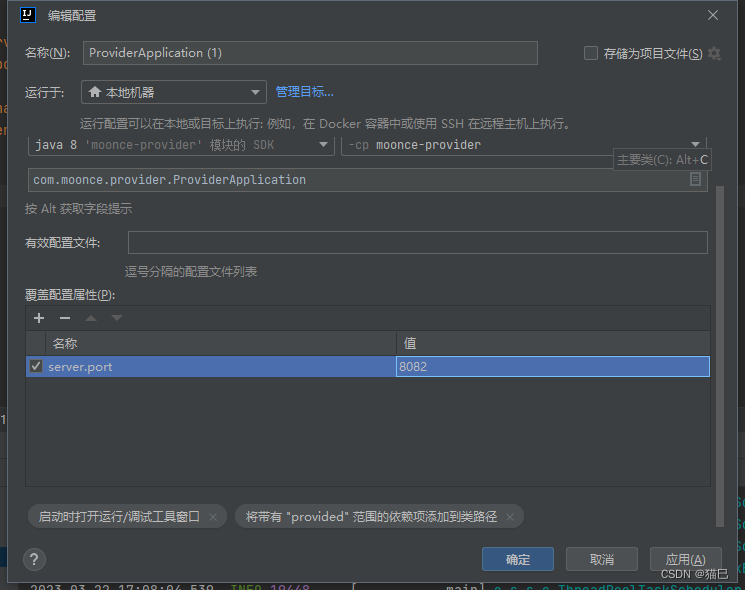
然后我们来启动这个复制的启动配置
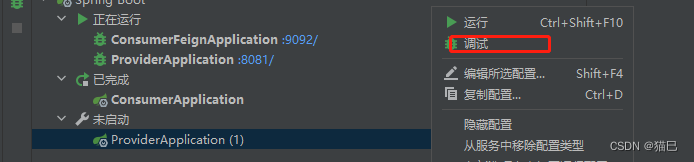
成功启动,端口为8082
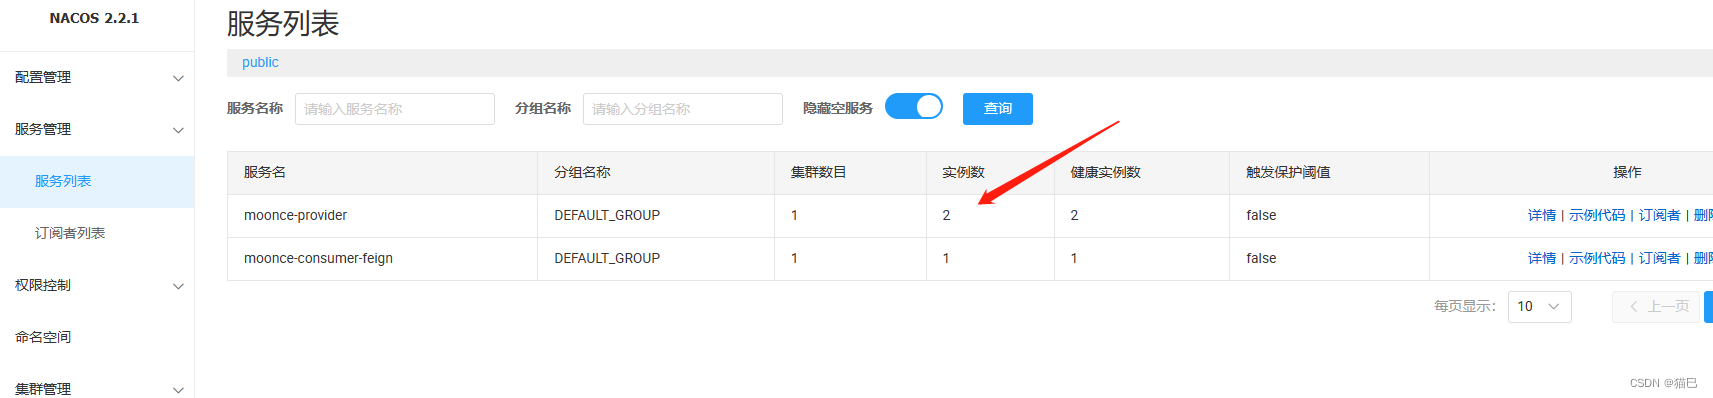
查看Nacos,服务提供商变为两个实例
在浏览器上多次访问 http://localhost:9092/test/hi,浏览器交替显示:
通过终端启动多个服务提供者实例
上面是基于idea工具快速设置端口的方法,小伙伴也可以通过maven命令来打包运行多个实例
打开终端

打包
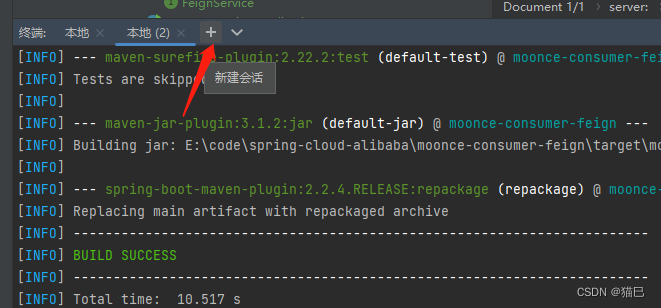
cd moonce-consumer-feign
mvn '-Dmaven.test.skip=true' clean package
运行
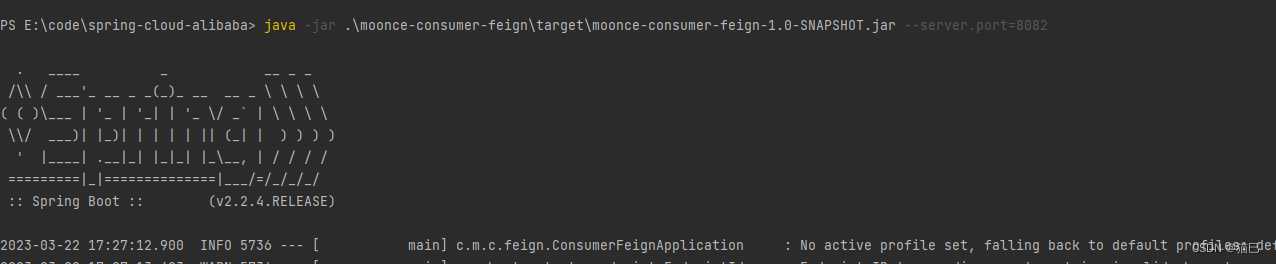
java -jar .\target\moonce-consumer-feign-1.0-SNAPSHOT.jar --server.port=8081

再新建一个终端
运行
java -jar .\moonce-consumer-feign\target\moonce-consumer-feign-1.0-SNAPSHOT.jar --server.port=8082