用YOLOv5代码训练模型并部署到Android客户端
创始人
2024-06-02 06:30:55
0次
仅做记录。
文章目录
- RuntimeError: CUDA error: no kernel image is available for execution on the device
- 在vscode上使用tensorboard
- 将YOLOv5训练得到的模型部署到Android客户端:
- 配置好环境,使用如下命令,运行train.py文件得到“.pt”模型
- 使用export.py中代码将“.pt”模型转为“.torchscript.ptl”模型
- 将生成的best.torchscript.ptl模型部署到android客户端进行目标检测
YOLOv5代码
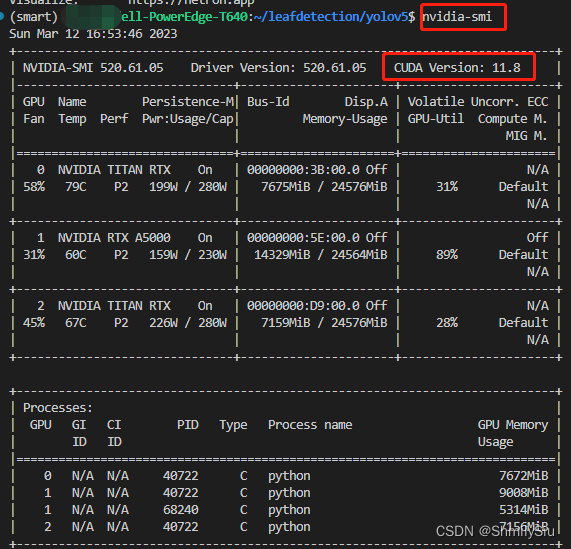
RuntimeError: CUDA error: no kernel image is available for execution on the device
报错信息显示显卡的CUDA计算能力和pytorch版本不匹配
安装适用于使用显卡的pytorch
卸载当前版本的pytorch, 重新安装匹配版本
pip uninstall torch
pip uninstall torchvision
pip install torch==1.7.0+cu110 torchvision==0.8.1+cu110 torchaudio===0.7.0 -f https://download.pytorch.org/whl/torch_stable.html -i  https://pypi.tuna.tsinghua.edu.cn/simple/
注意上面的内容要与自己的cuda版本匹配哈,怎么查看当前环境的cuda版本,命令如下:
查看可用cuda最大可用版本:
nvidia-smi
查看当前环境的cuda版本:
nvcc -V

在vscode上使用tensorboard
(1)找到log文件的保存地址:
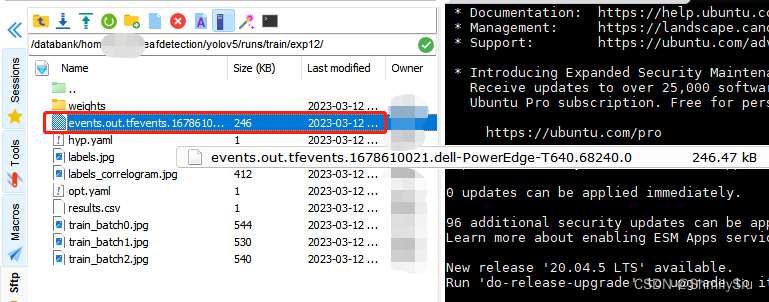
(2)vscode连接上服务器之后,在终端输入:
tensorboard --logdir=/databank/home/**/**/yolov5/runs/train/exp12/ #这里的地址为上述地址

这样就可以啦!!!
将YOLOv5训练得到的模型部署到Android客户端:
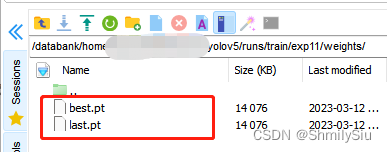
配置好环境,使用如下命令,运行train.py文件得到“.pt”模型
CUDA_VISIBLE_DEVICES=0 python train.py --img 640 --batch 16 --epochs 300 --data data/my.yaml --weights weights/yolov5s.pt
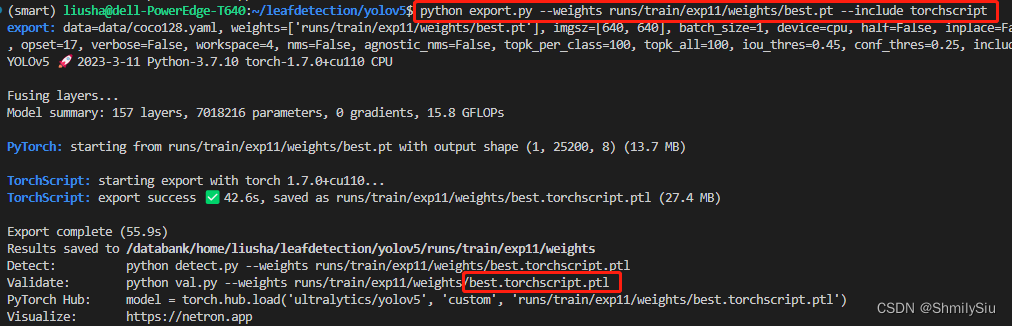
使用export.py中代码将“.pt”模型转为“.torchscript.ptl”模型
注意,原export.py中只能将“.pt”模型转为“.torchscript.pt”,不能转为“.torchscript.ptl”,所以需要稍微修改下代码,具体如下:
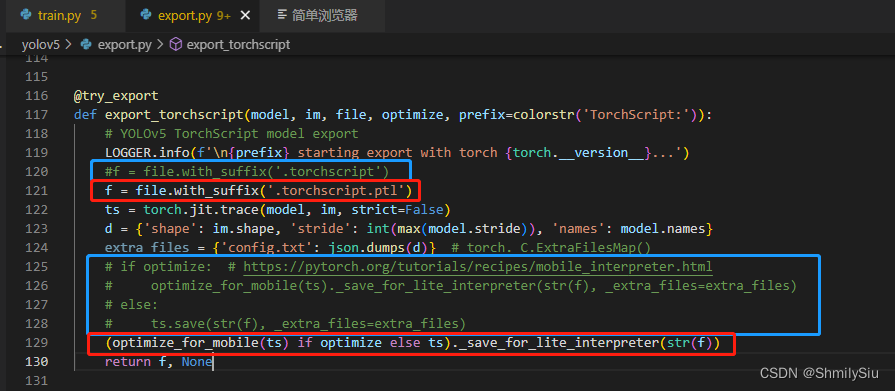
把蓝色框中代码注释掉,并写入红色框中代码:
f = file.with_suffix('.torchscript.ptl')
(optimize_for_mobile(ts) if optimize else ts)._save_for_lite_interpreter(str(f))
然后使用如下命令:
python export.py --weights runs/train/exp11/weights/best.pt --include torchscript
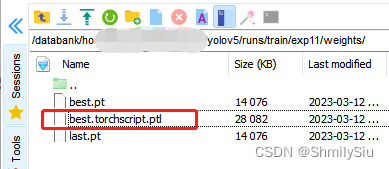
将生成的best.torchscript.ptl模型部署到android客户端进行目标检测
Git中提供的android-demo-app模板代码
(1)在MainActivity.java文件中改变自己的图片列表:

private String[] mTestImages = {"aicook1.jpg", "aicook2.jpg", "aicook3.jpg", "test1.png", "test2.jpg", "test3.png"};
(2)在MainActivity.java文件中改成自己的模型:
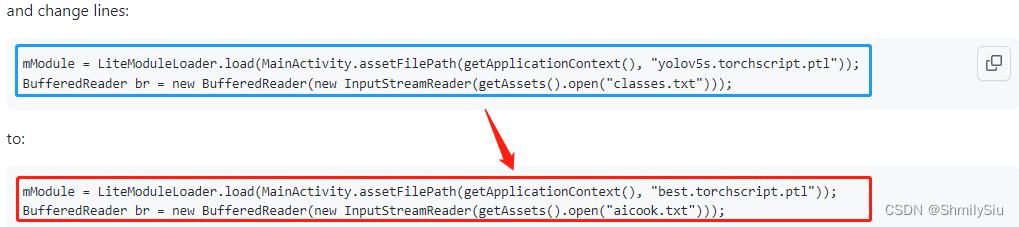
mModule = LiteModuleLoader.load(MainActivity.assetFilePath(getApplicationContext(), "best.torchscript.ptl"));
BufferedReader br = new BufferedReader(new InputStreamReader(getAssets().open("aicook.txt")));
(3)将PrePostProcessor.java中的mOutputColumn的数值改为自己模型的预测种类+5,例如,如果自己模型可以检测的目标种类为30,则值为30+5=35;

private static int mOutputColumn = 35;
(4)将ObjectDetectionActivity.java文件中的模型也给成自己的:

mModule = LiteModuleLoader.load(MainActivity.assetFilePath(getApplicationContext(), "yolov5s.torchscript.ptl"));
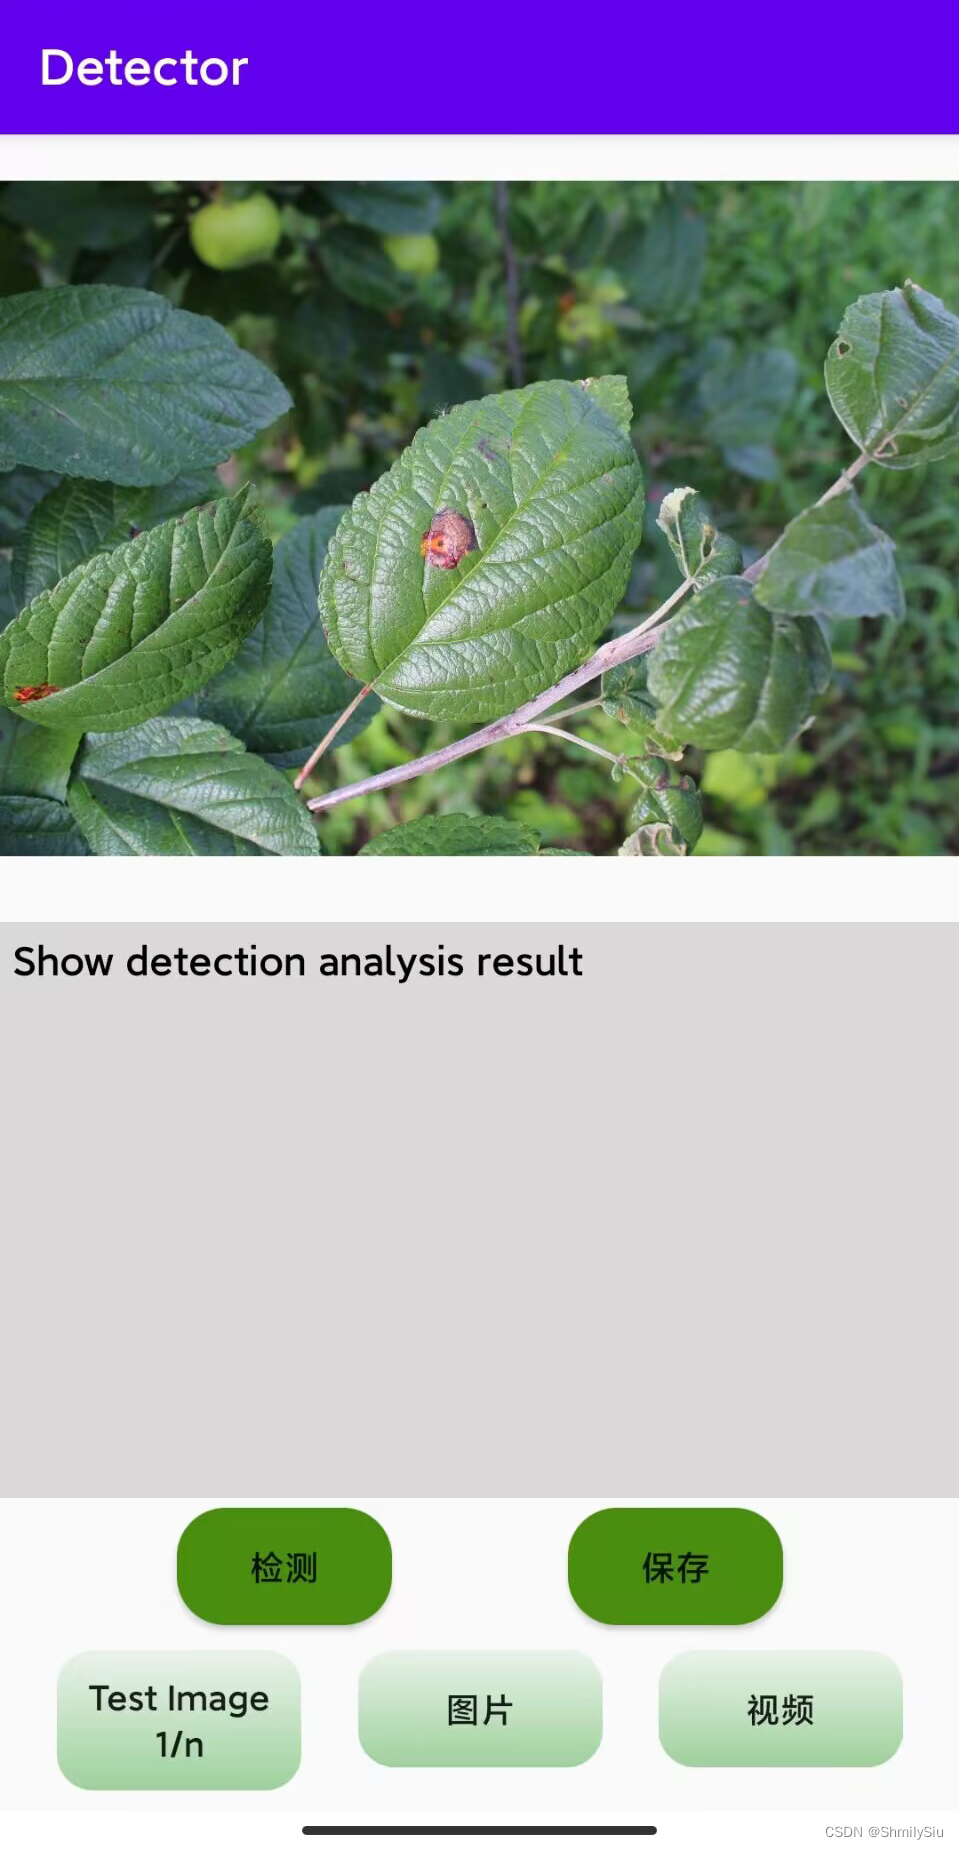
(5)运行demo_app
相关内容
热门资讯
保存时出现了1个错误,导致这篇...
当保存文章时出现错误时,可以通过以下步骤解决问题:查看错误信息:查看错误提示信息可以帮助我们了解具体...
汇川伺服电机位置控制模式参数配...
1. 基本控制参数设置 1)设置位置控制模式 2)绝对值位置线性模...
不能访问光猫的的管理页面
光猫是现代家庭宽带网络的重要组成部分,它可以提供高速稳定的网络连接。但是,有时候我们会遇到不能访问光...
不一致的条件格式
要解决不一致的条件格式问题,可以按照以下步骤进行:确定条件格式的规则:首先,需要明确条件格式的规则是...
本地主机上的图像未显示
问题描述:在本地主机上显示图像时,图像未能正常显示。解决方法:以下是一些可能的解决方法,具体取决于问...
表格中数据未显示
当表格中的数据未显示时,可能是由于以下几个原因导致的:HTML代码问题:检查表格的HTML代码是否正...
表格列调整大小出现问题
问题描述:表格列调整大小出现问题,无法正常调整列宽。解决方法:检查表格的布局方式是否正确。确保表格使...
Android|无法访问或保存...
这个问题可能是由于权限设置不正确导致的。您需要在应用程序清单文件中添加以下代码来请求适当的权限:此外...
银河麒麟V10SP1高级服务器...
银河麒麟高级服务器操作系统简介: 银河麒麟高级服务器操作系统V10是针对企业级关键业务...
【NI Multisim 14...
目录 序言 一、工具栏 🍊1.“标准”工具栏 🍊 2.视图工具...